As mentioned in the previous post, we've been excited about 360 videos for a while and the impact it is going to have on content for businesses, broadcasting, and gaming worlds. Our last post on 360° video showed examples of pictures and video, each of which was deployed and utilized in different ways. The process of creating a 360 video is a bit more involved than creating a conventional video and more involved than just taking a 360 photograph.
While experimenting with this technology we put together a three-part series of videos that shows how we shot and edited our 360 videos...this post is about how to shoot 360 video for your business.
Below, you'll see two videos. The first is the video we shot with a regular camera. The second is the same video we shot with the 360 camera. You can notice the difference.
In the first video, we attempted a stand-up in our studio with the Bublcam. Whether or not this added any benefit to the user is questionable, especially in this studio with this camera. However, imagine you're a field journalist doing a story in a war zone or a reporter on the sideline of a major game. The ability to go 360 could have far-reaching effects - especially if the technology is deployed live and viewers can interact in real-time.
Producing 360 provides some challenges. Essentially you need to parse the footage through filters so that ultimately it (the footage) winds up in equidistant projection - though each manufacturer may have their own processes to help you do this.
The steps involved in creating a 360 video can be broken down (in theory) into several parts, which include;
- Shooting the footage. However, each camera manufacturer is different in how they do this. You could potentially be shooting with 6 different cameras simultaneously. Which means a potentially massive amount of footage and required storage. Luckily most manufacturers have figured out their own process to get around this and may provide just one video stream.
- Converting and Editing the video into the spherical format. Potentially importing 6 separate camera feeds and editing doesn't sound appealing. But that may be the case with some 360 cameras. Others (like the ones we used) make it much more simple allowing you to upload the footage to their site (where it gets converted) then you re-download it, ready for editing.
- Integrating the video into the 360 player. You'll need to wrap the video in a shell that provides interactivity, whether it be for virtual reality, YouTube, social media or embedding on your own site.

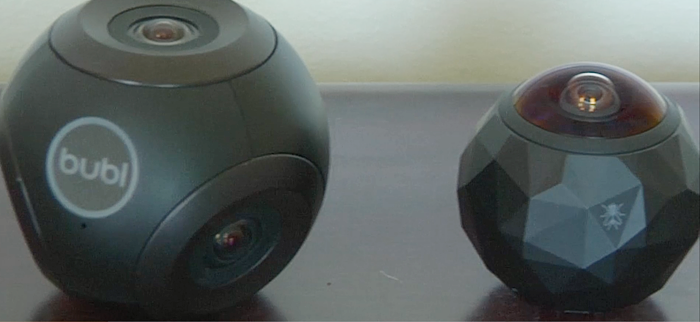
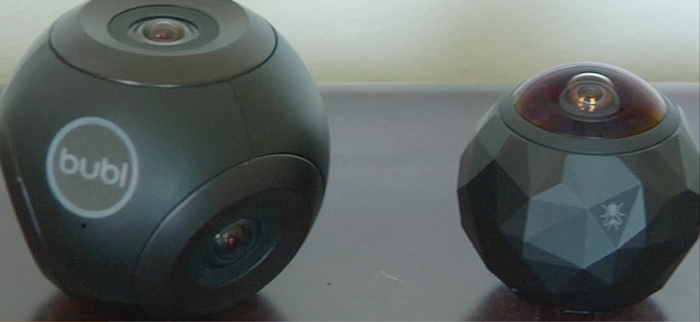
The two cameras we tested
Taking into account the 360 nature of the camera, a way to exclude the production equipment and crew will have to be figured out if you do not want them in the scene. Luckily both the Flycam and Bublcam have a phone app that you can use to start and stop the camera, which helps if you're a one-man crew who needs to be out of the shot.
The video below shows you how the phone app works for both 360 cameras.
Because you're dealing with multiple camera streams you can not zoom in or out when shooting the footage. That ability is provided once you embed the footage into the 360 wrapper. Since the cameras are fixed lenses, they have limited adjustment to the iris or gain. If you need the camera closer, you need to physically move the camera closer to the action. If you want the shot brighter, you have to brighten the area.
There are major differences between these two cameras. With the Bublcam you can go completely 360. Meaning up, down, all around. With the Flycam, you are limited. You can only go up and spin around, you can't go down. The clip below explains what we mean (notice you hit a limit when tilting down).
As mentioned in the previous post we've deployed the 360 camera for some of our clients already. As a business owner, marketing manager or manufacturing facility you may need to start exploring how this technology can work to your advantage.
If you're interested in learning how to edit with these two cameras our next blog post will cover exactly that.


Leave a Comment